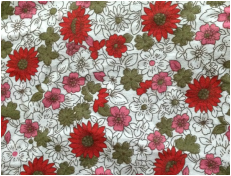
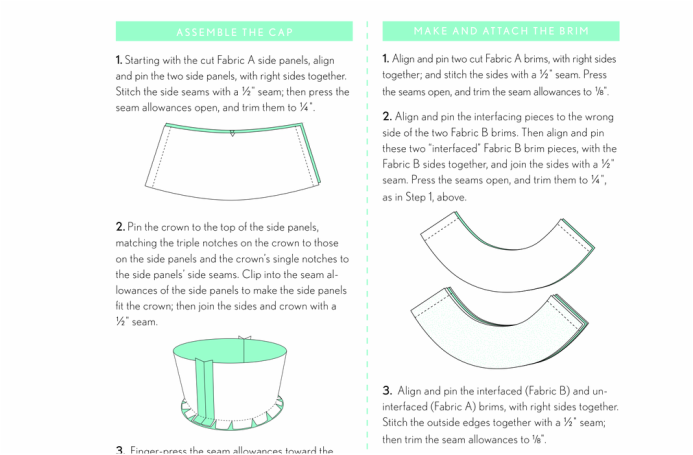
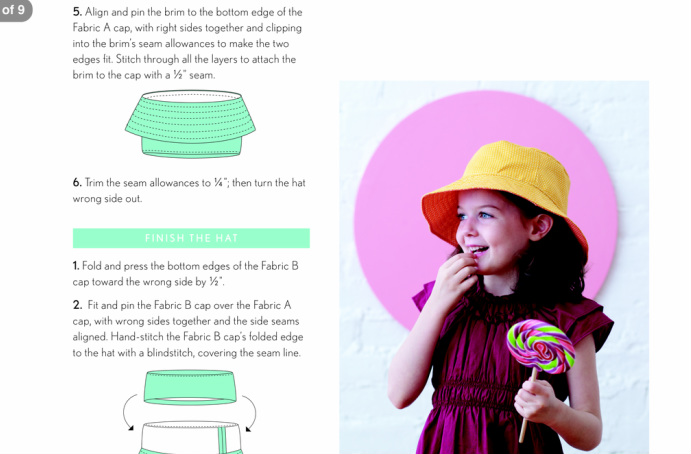
If you haven't heard of Oliver and S before, you really are in for a treat. They design the most beautiful children's clothing patterns- just the way children's clothing should be! However, despite my praise, this is the first of their patterns that I have actually made; a reversible bucket hat for the little one/s in your life! I've made mine from two contrasting fabrics; an old pair of Will's trousers for the main fabric (with permission, of course) and a beautiful faded floral fabric from my ever-loved, Leons, to line. The fabrics match beautifully and the hat is equally lovely on both sides. Being a floral at heart, it's the inside that I enjoy most, but the neutral, more substantial outer fabric is incredibly practical. This project is fairly quick (it took me a couple of sewing chunks and then some lazy evenings to complete) and is a great use of those little bits of fabric that you've been saving for just-the-right time. The pattern can be downloaded for free and printed at home in four different sizes; extra small, small, medium and large. I still have some trousers left and a number of small heads to cover! I'll definitely be using this pattern again... | | Not only is the pattern free to download, but it also comes with beautifully clear, illustrated instructions. What are you waiting for?!
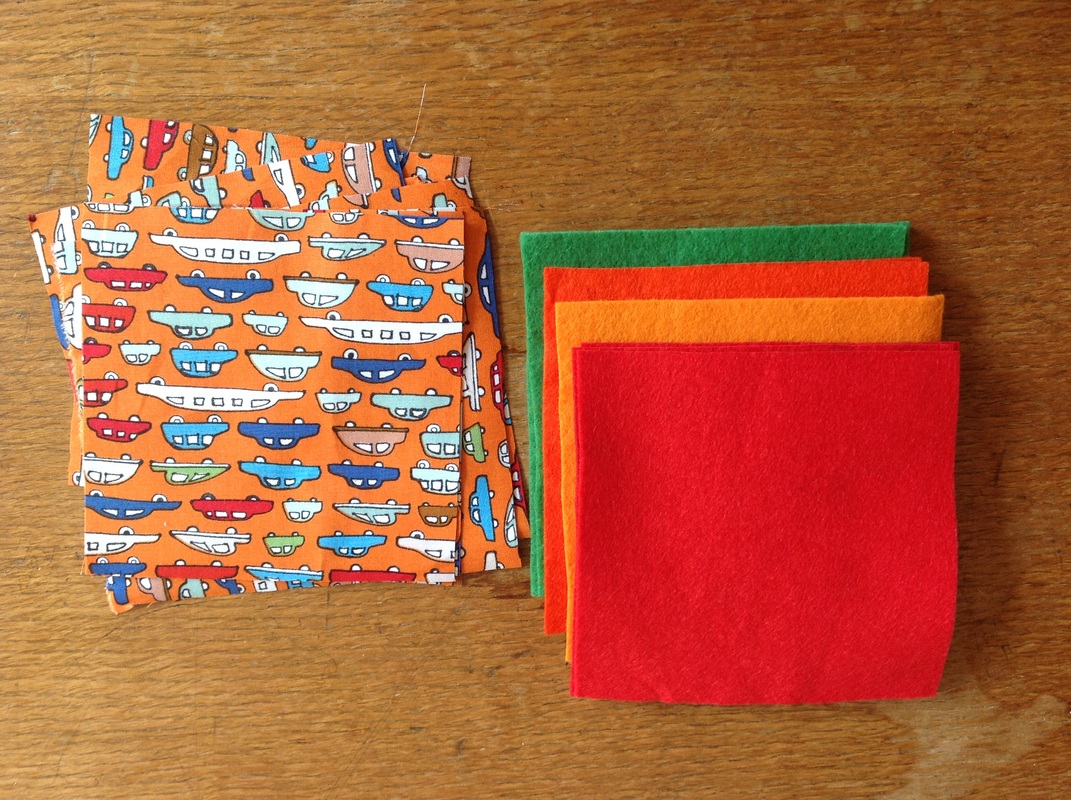
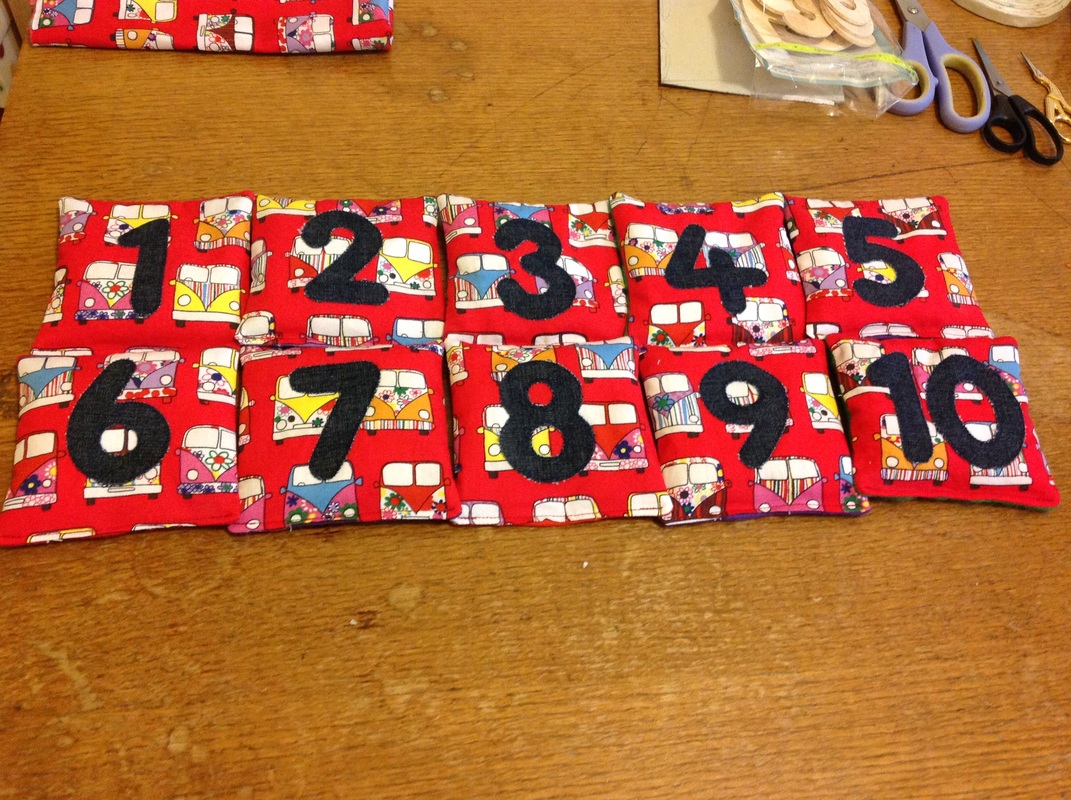
 Whilst counting with some of the children at school last week, a thought popped in to my head; wouldn't it be fun to make some colourful counting resources myself, to help our little Godson and niece? Yes, I thought, it would! After picking out two fantastic car fabrics from Leons and searching through my drawers of scraps, I decided to stitch some denim numbers to each bag ( The Village Haberdashery has a great tutorial for making number bags like this). I began by ironing some Bondaweb to my denim scraps (I love how the denim reminds me of little jeans!); tracing each number and then cutting them out. Next, I ironed these in to the centre of each 5 " square piece.
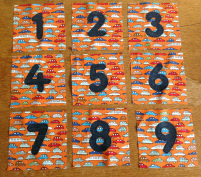 I bought my number templates especially for the job and already have lots of ideas for how I can use them next! Watch this space...
Here are my numbers carefully zig-zag-ed to the front of each bag. I chose a mixture of colours for the felt backs- a bit because I wanted a fun mix for little B, and a bit because that's what I had left!
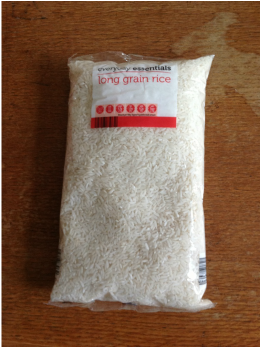
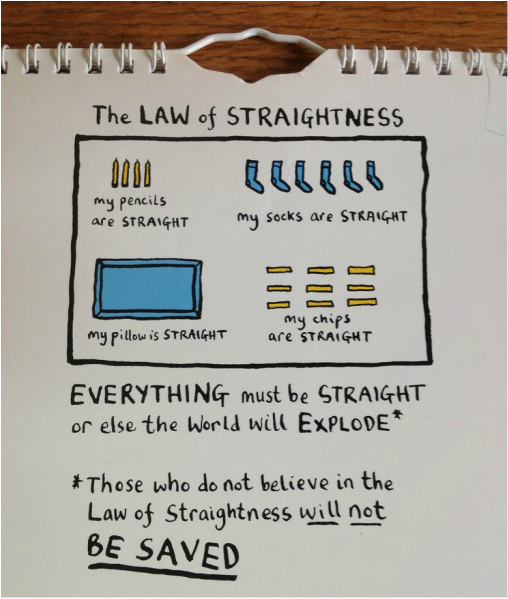
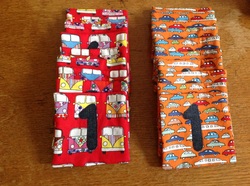 After attaching my numbers I stitched the fronts to the backs, right sides together, leaving a little gap for stuffing on the bottom edge. I snipped the corners to reduce the bulk and then turned them through and pressed them flat. I used super bargain rice for my stuffing (40p per kg) and I even measured it out so that I had exactly the same amount in each bag (the law of straightness...); 100g per bag. Next, I made a make-shift funnel with a tube of cereal box to help fill the bags and then finished them off with a row of machine stitching along the bottom edge. The bags need a home so my final job will be to make two matching drawstring bags...here they come!
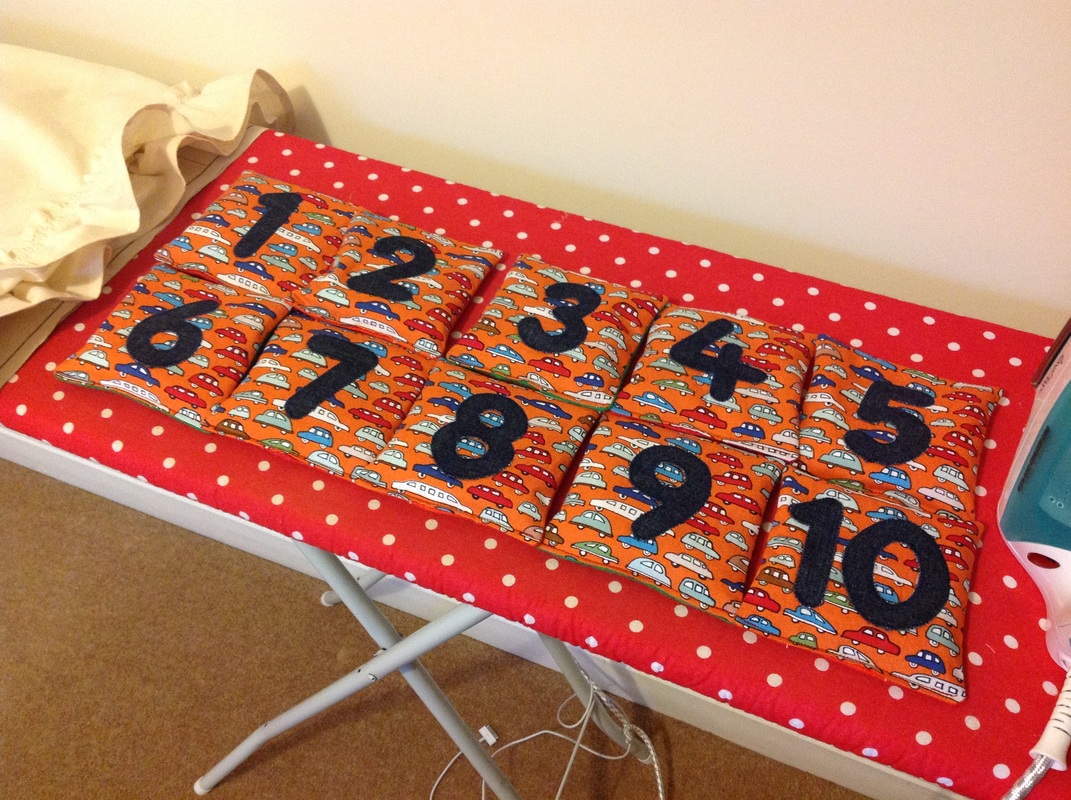
| | (The left set of colourful VW's are for Paige and the orange cars for Boaz. Now the hard work of learning to count can begin!)
27th June 2013
It's been far too long since my last post, but I've been plenty busy stitching away...(evidence to follow!)
Two more sets of number bean bags later, I'm moving on to pastures new. However, Pintrest has been providing plenty of educational-games-style ideas of late, so watch this space!!
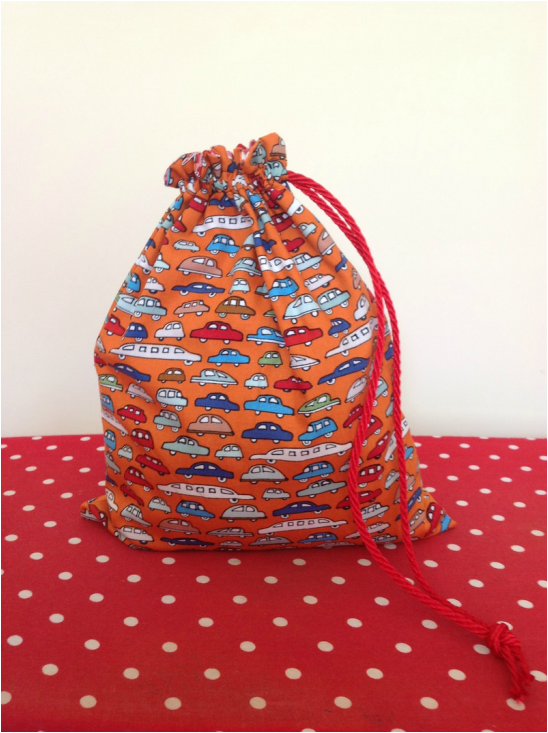
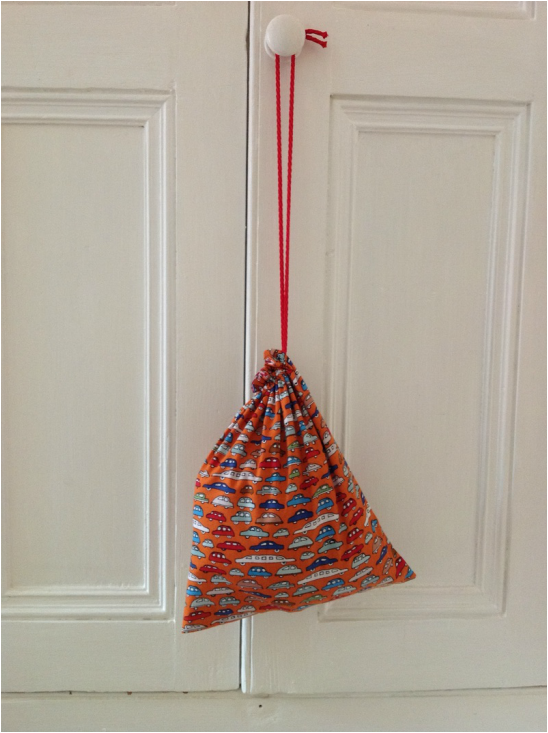
Before I move on to my newest stitching adventures, here is one of the drawstring bags that I made for Boaz's number bags. These bags are super simple to make and take little fabric and time. They could be used for lots of different things around the home to: pump bags, toy sacks, P.E. kits...
I'd definitely recommend giving a drawstring bag a go- especially if you're new to sewing and still have plenty to learn.
As I'm sure many of you will understand, I'm a lady who likes lists. Here begins a list of creative ventures to complete over the coming months: 1. Make the lovely Negroni by Colette, an intermediate pattern (ey up) for my dear Mr Holmes. 2. Make a lovely little outfit for our lovely little neice, a two peice set or a summer dress, yet to be decided or most probably, both... (I have the New Look 6796 up my sleeve...) 3. Learn how to make rouleaux straps and how to shear a tiny wee dress (inspired by the one and only GBSB) 4. Make something patchwork for our home. My husband bought me Cath Kidston's lovely 'Patch' book for my birthday last year and so far I've only attempted one project in the book. First stop, a double patchwork quilt for our bed. 5. Sew with friends. One of my favourite things about sewing is that it's such a wonderful thing to do as you chat. And with many talented, creative ladies in my life, I really do need to schedule some sewing dates soon. 6. Find and make up a lovely bag pattern (I love Anna's patterns at one of my favorite blogs, Noodlehead) 7. Make some number bean bags for our Godson and neice. 8. Bring some old furniture back to life! I love old furniture and would just love to renovate a piece or two for our home- a bookcase and a couple of wooden chairs being at the top of my list. Re-upholstering is on my list of things to learn how to make for the home and I think a simple chair cover would be a great place to start. 9. Try my second Hazel dress by Colette. I love my first, but next time will add a couple of inches to the bottom so it reaches closer to my knees. I might try lining my next number to. 10. Make a fabric advent calendar in preparation for Christmas 2013!! (I know, this really is planning in advance!) 11. Try some knitting. I love the look of knit, and I can knit a little (a very little), but one day I will reach this item on my list. It's not right at the top as I'm a stitcher at heart, but it would be wonderful to develop my skills into woolen wear to.
The last few days I've been working on my first 'real' dress- Hazel by Colette, in a beautiful buttery floral print, yet I must confess to some frustration today. I do believe that Edward Monkton was thinking of me when he drew this: Try as I might to be satisfied with less than perfect top stitch, it really just won't do. I end the day having moved backwards, rather than forwards, in my pretty project (cue toys being thrown out of pram).
Sleep and the fresh perspective of a new day required; Bedfordshire here I come...
Does anyone else struggle with this same dilemma? Any buttons of wisdom to impart?
Things I have learnt (so far), whilst making my Hazel dress:
1. I love enclosed edges and anything other than an enclosed (or overlocked) edge is almost too much to bear.
2. Unpickers are invaluable.
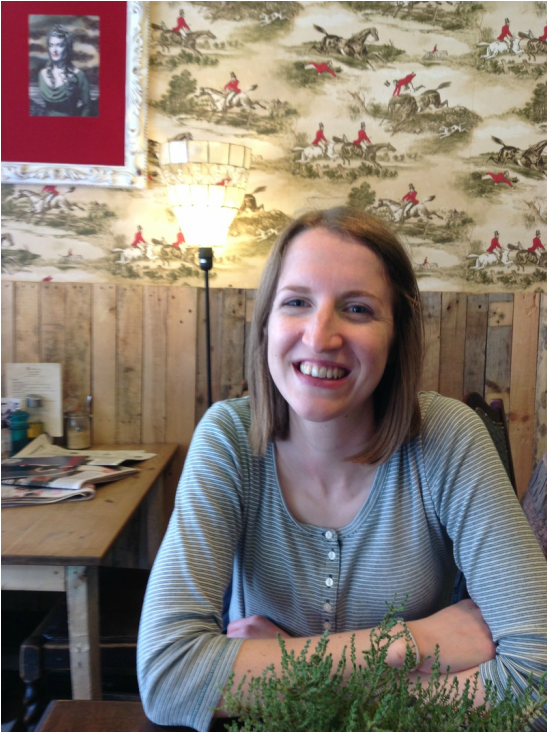
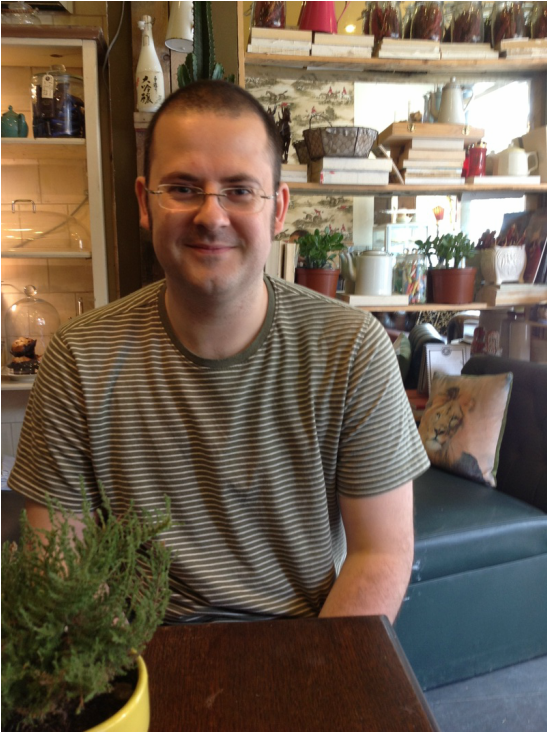
 Recognise this? If you're as big a fan of The Great British Sewing Bee as me (unlikely!), you'll know it at a glance; this is the home of the GBSB in Hackney, London, which we visited this weekend! My wonderful husband surprised me with a bank holiday trip to the Tate and a visit to 'Other', the GBSB's very own cafe, for lunch.! We had a wonderful day exploring together; London is always so much fun! And check out the wallpaper below! We couldn't set this up could we?!...
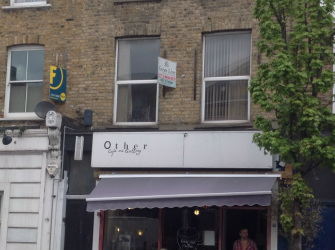 Here it is, here it is! Do take time to visit Other if you're ever nearby- it's a lovely spot. And they do a fine poached egg, I might add...
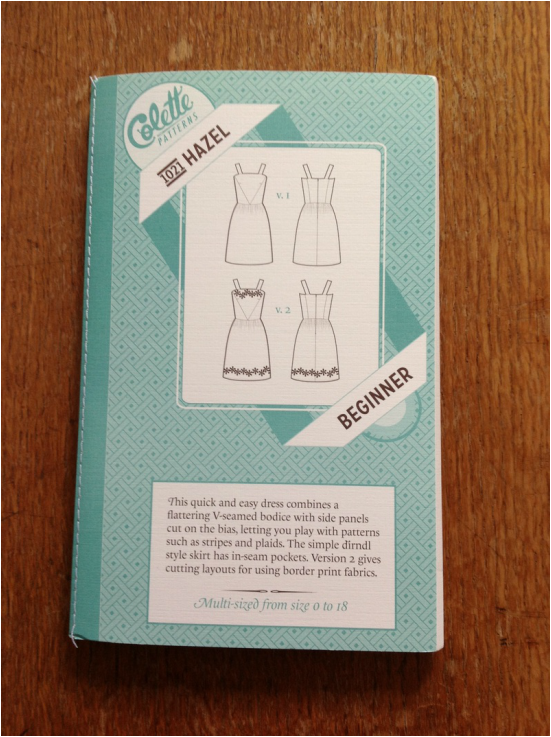
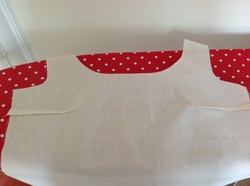 Above is another of my Guthrie and Ghani goodies- a beautiful summer dress pattern by Colette, called Hazel. I can't wait to give it a go! B u t, before I begin, I thought I'd have a go at Sorbetto, a pattern that is FREE to download from the Colette website (click here <) . To the left are my first ever darts (!), a simple technique that help to shape a garment, here giving shape to the bust. I'm pleased with the finished top, but next time (yes, there may be a next time, in real fabric!) I think I'll extend the hem by a few inches (3, 4 or 5...) as I think it's a little short. Right, onwards to my lovely little dress!!
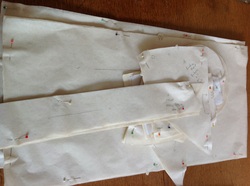 My Colette fabric jigsaw begins!! The pattern is lovely and comes with an illustrated booklet that talks you through the pattern, step by step, giving handy hints along the way. This is so much fun!!
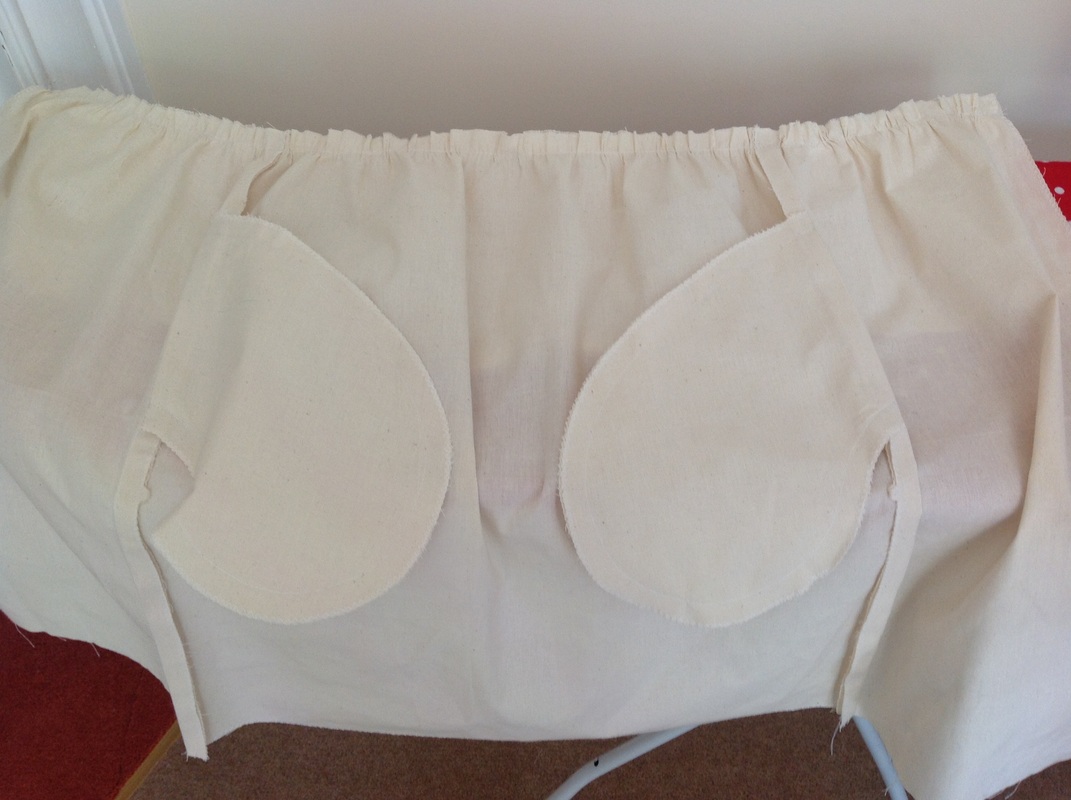
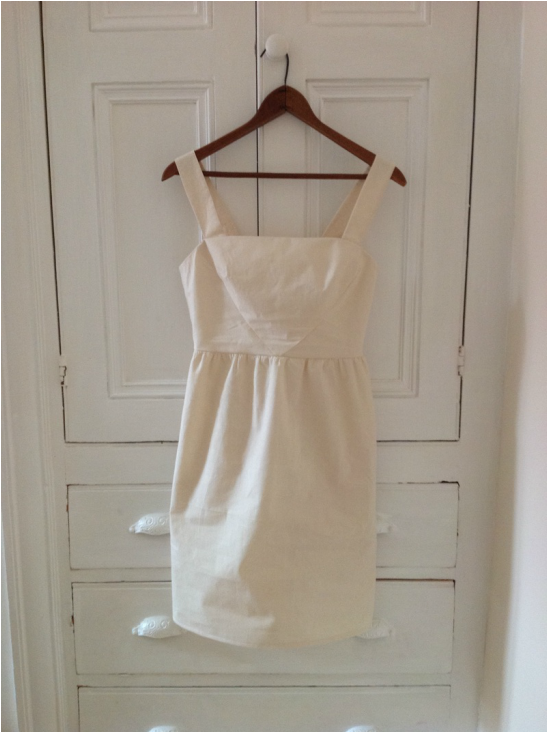
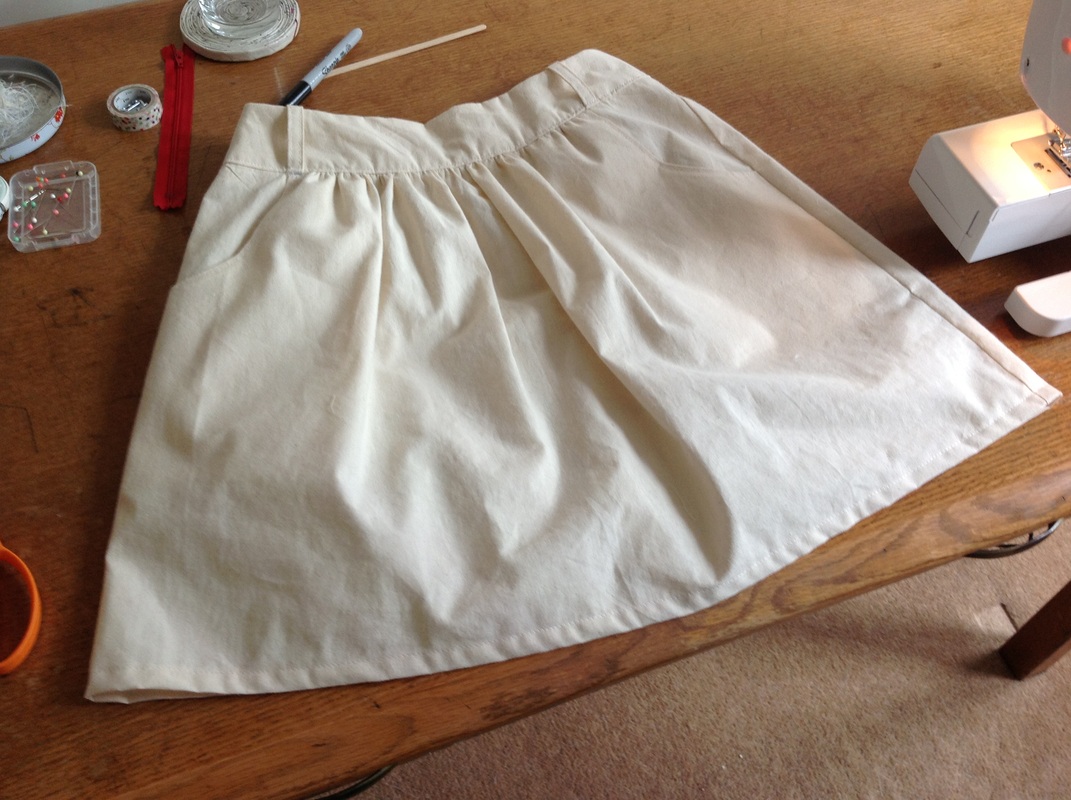
Okay, so here is the bottom part of the dress so far. I've gathered the waistband to give the skirt part some shape and the giant pockets are now in place (a girl needs giant pockets)... I think the trickiest part is going to be inserting the 'invisible' zip, but I'll have a good go! The trick is to get the needle as close to the zipper teeth as possible (easier said than done). Stitch by stitch... 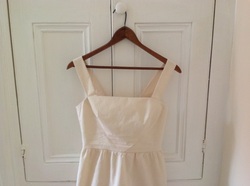 Wohoo!! I did it! Here is the finished dress; I'm so pleased:) I love it when you see things coming together and you realise that you're actually going to have a finished garment- who would've thought it!! The dress is a lovely shape and really is quite a practical summer dress.
Deep breath... real fabric here I come!!
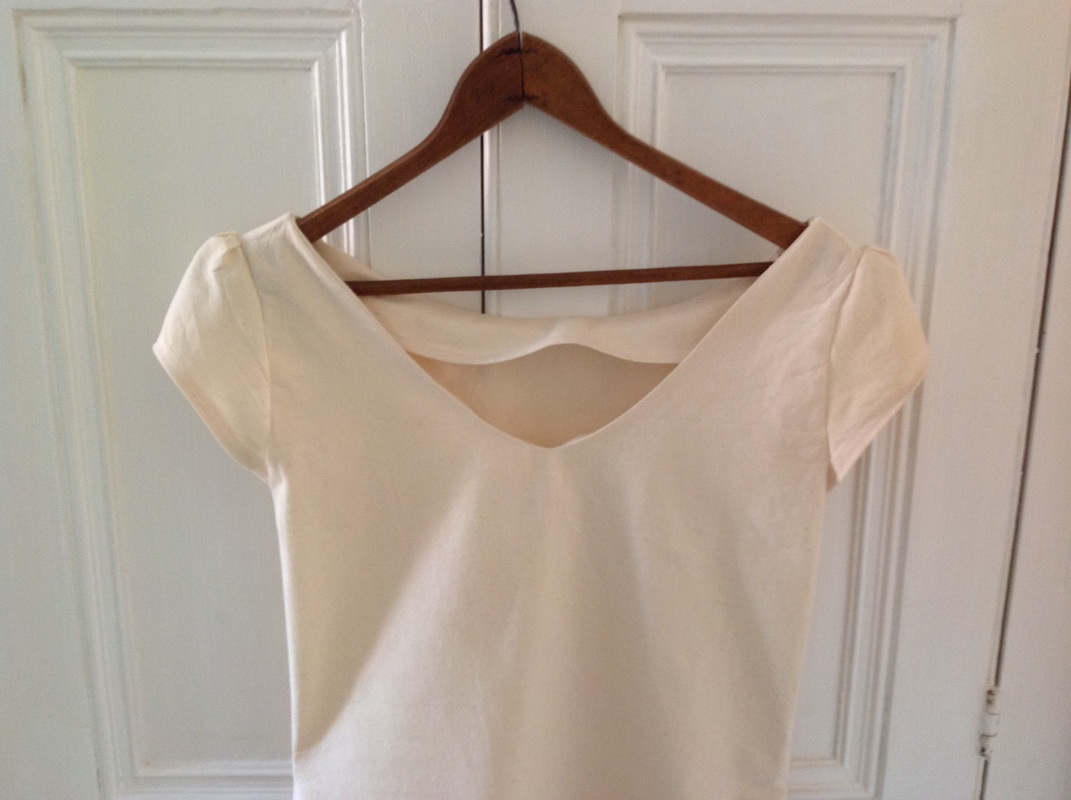
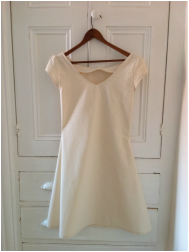 This is the first pattern that I've made from my Great British Sewing Bee book, the lovely Tea Dress (p138). I downloaded and printed the pattern at home and then once again, used calico to have a go at my first dress! The 'invisible' zip was the biggest challenge (yes, my zip isn't quite invisible!!), but that may be because I don't have an invisible zipper foot. The dress is a lovely shape though and surprisingly, fits me very well! (Watch this space for my calico photo shoot snaps that we hope to take this weekend!) The cap sleeves were quite fiddly but the neckline is such a lovely shape. The pattern suggest sewing two little buttons to each shoulder to, which I think would be really sweet. My husband, Will, has been encouraging me to have a go with one of my 'real' fabrics soon- perhaps this will be the shape!....
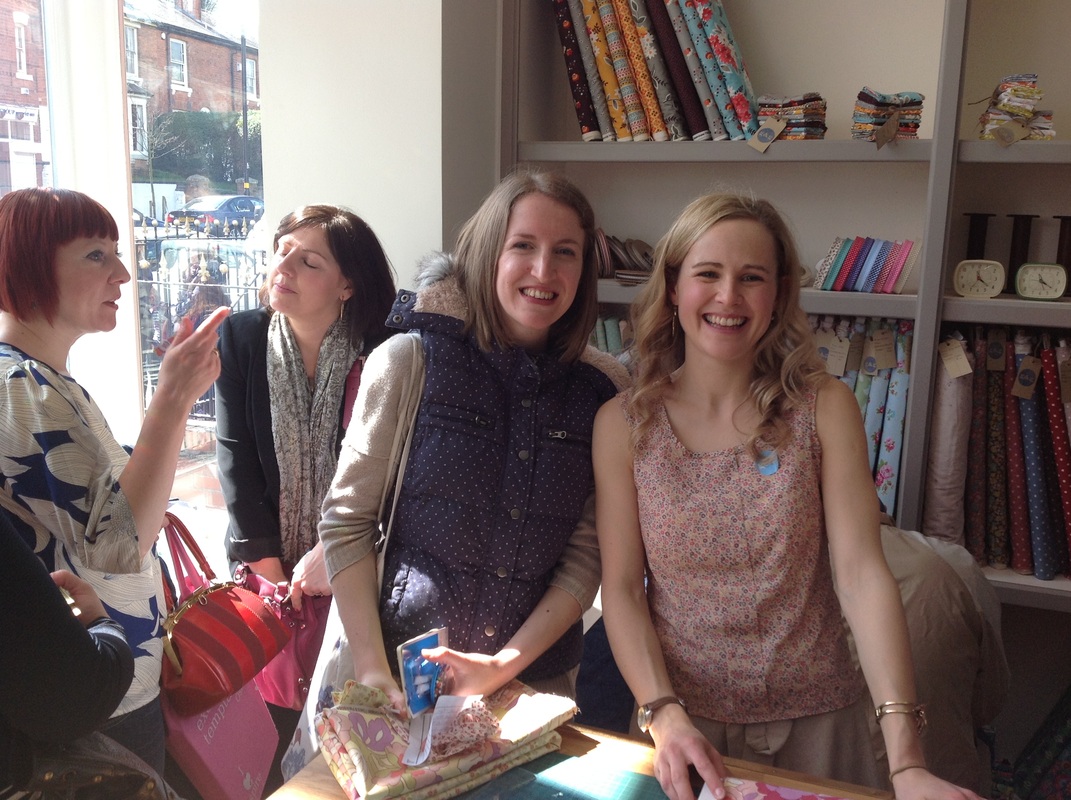
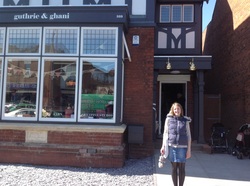 Goodness me, what a fantastic day!! Mr Holmes and I set out on a Sewing Bee adventure this weekend to join in the opening party of Guthrie and Ghani, a brand new fabric, yarn and haberdashery shop owned by finalist Lauren and her husband. There was such a lovely crowd at the shop and a real sense of celebration as the store was opened for the first time. It really is such a beautiful shop, full of gorgeous stock- fabric, buttons, stunning patterns... and there's a wonderful open studio upstairs, which will be hosting a series of exciting looking workshops over the next few months. If only we lived just a little bit nearer by (did I mention that the shop is in Birmingham!)...
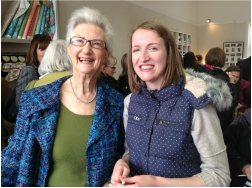
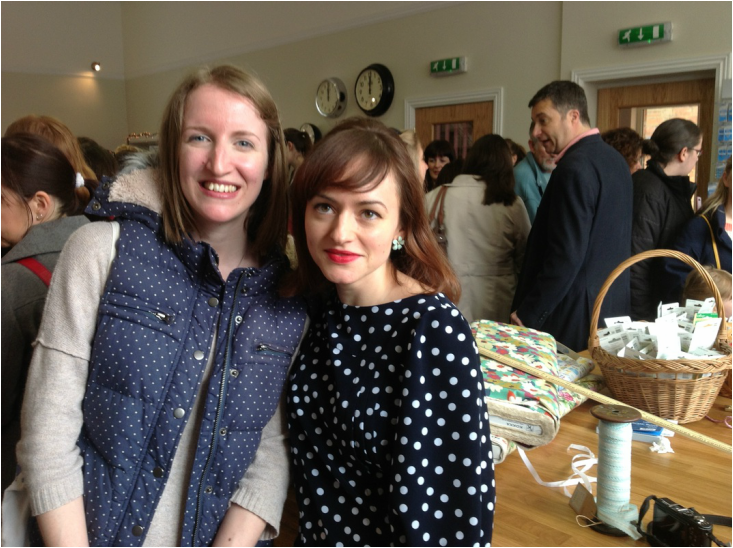
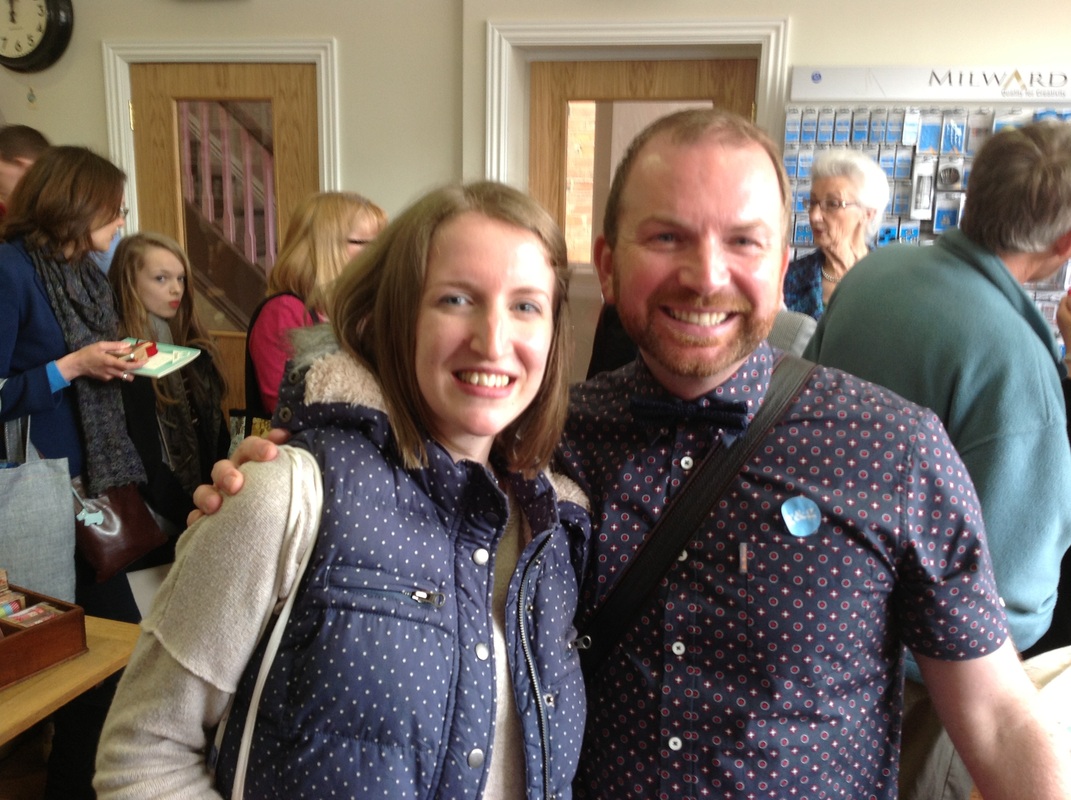
Lauren, her husband and the rest of the team did a wonderful job of welcoming their visitors for the first time! Lauren didn't stop cutting fabric, signing books and having her photograph taken for the whole time that we were there!! Good work! She must be delighted that so many others are sharing in her excitement about their new business venture. WHAT a fantastic job they have done renovating the shop; it really is lovely. Check out their website and online shop Guthrie and Ghani. Having read Tilly's blog before we arrived I knew that she would be visiting during the day, so who can blame me for sneaking a quick introduction and photo with her to! It was lovely to meet her and she did a sterling job of supporting Lauren at the cutting table; snip, snip,snip!! She was even wearing her very own Mathilde blouse (you can download the pattern on her website). Stuart was great at welcoming the crowds as well- he looked like he was having a fantastic day! Go on then, let's have a photograph if you insist!! Ann was full of smiles when she arrived and it was great to meet her to. I bet she signed many a Sewing Bee book that afternoon!
Thank you to all the Sewing Bee contestants for your kindness in allowing us to take your pictures and ask you for your 'autographs'!! You have inspired many a new sewing project across the country, I have no doubt:)
Lauren and Ayaz, all the very best with the new business- I'll be back!!! My fabric souvenirs... 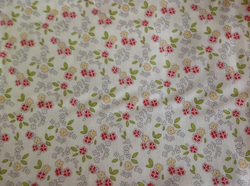 I was so pleased with the fabric souvenirs that I was able to bring home. First, I bought this lovely floral print, 'Cream Chair' from the Seaside collection by Riley Blake. I'd love to use it with my new Colette pattern to make a pretty summer dress. I also bought a piece of brightly colored fabric from Amy Butler's Gypsy Caravan collection, hopefully to make a little gift for our (little!) niece. I also bought some much appreciated fabric chalk, colored headed pins and some lilac and lemon thread. There is SO much that I want to make!!
 Inspired by the BBC's most marvelous 'Great British Sewing Bee', here begins my very own blog to track my creative paths. First to share my sewing adventures...pattern cutting and construction to make my very own c l o t h e s!! Whilst I spent three years studying textiles and embroidery at university (a few years back now), I've never actually ventured into 3 dimensional construction; I've been missing out! Over the last two weeks I have bought my first pattern, cut my first fabric jigsaw and have LoVeD constructing a number of different garment shapes; I have a brand new (calico!) wardrobe!!
So, let the journey begin...
Project number 1:  For my first attempt, I thought I would make use of as much help as I could get my hands on! So, after spotting a fantastic tutorial on one of my favorite blogs, noodlehead, and buying the corresponding pattern (Simplicity Learn to Sew 2226), here is my very first Holmes-made skirt! I battled long and hard to insert the zip at the back, but I'm really pleased with the finished results. The pockets are lovely and would be great lined in a contrasting fabric to the main part of the garment, and the belt tabs on the waistband add a lovely detail to the overall effect. What can I say, I'm hooked. There really is something quite wonderful about taking a piece of two dimensional fabric and giving is a three dimensional shape. Let the stitch addiction commence...
You may notice that my fabric is a little plain; you'd be correct. Since I'm learning to construct garments for the first time, I've decided to use calico only for now. Calico is a brilliant practice material as it's cheap to buy (I got mine for £2.50/metre), lovely to handle and generally very forgiving!! (Especially for folk like me who like to spend a lot of time with their unpicker!!)
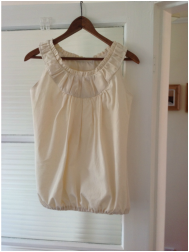
Skirt, tick, top half- next stop! My second pattern of choice was Simplicity 2892, a fantastic pattern that comes with all the pieces and instructions that you'll need to make six different tops! I decided to try view C first (above), and I quite like the result. The pleats on the neckline are lovely (if slightly tricky to master at first!) and the band at the bottom adds a great shape. Onwards and upwards; sleeves and e a s i n g, here I come! 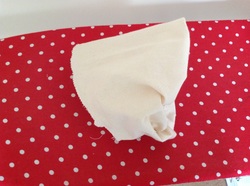 Whilst watching the Sewing Bee I've definitely noticed that sleeves can be quite tough. But, they look wonderful and they were the next technique I strove to master! Here is my little sleeve, having being gathered and stitched into place. The sleeve is lined and since the lining is smaller than the outside piece, the patterns allows you to create a garment with some brilliant shape. Again, I am AMAZED at how wonderful it is to make something 3D!! Below is my finished sleeved top with a little belt that I made to tie around the middle. I think it looks quite sweet with the skirt to match!!
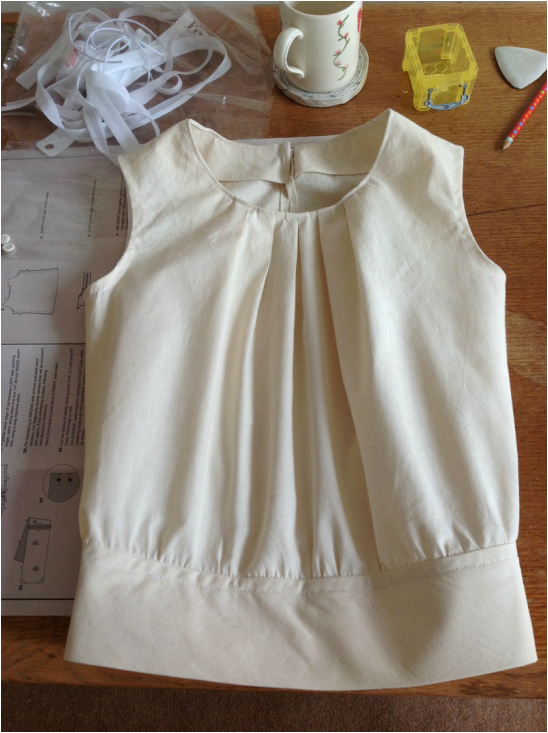
 Here is the pattern that I mentioned above. Having given views C and B a good go, my final task was to master the tricky-looking gathered neckline of top E/F. I decided to go for F so that I could have a go at gathering the bottom hem with some elastic (I've not done that before).
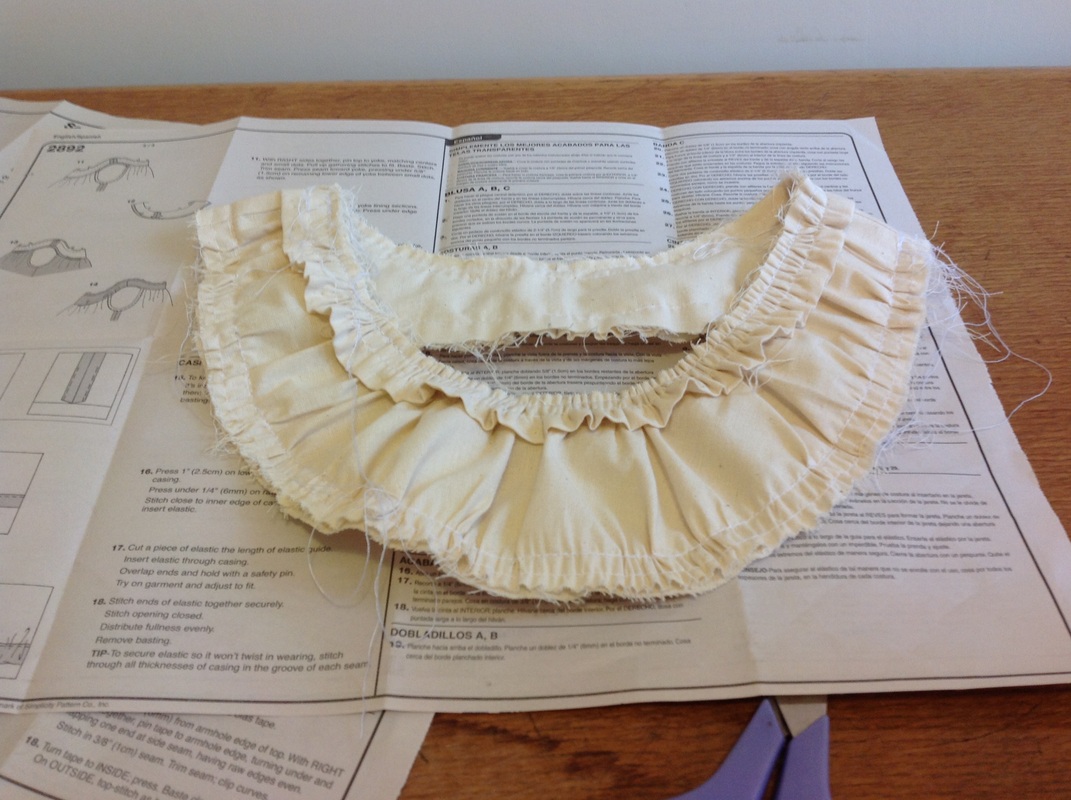
Below is my yoke with the ruffle edge attached...
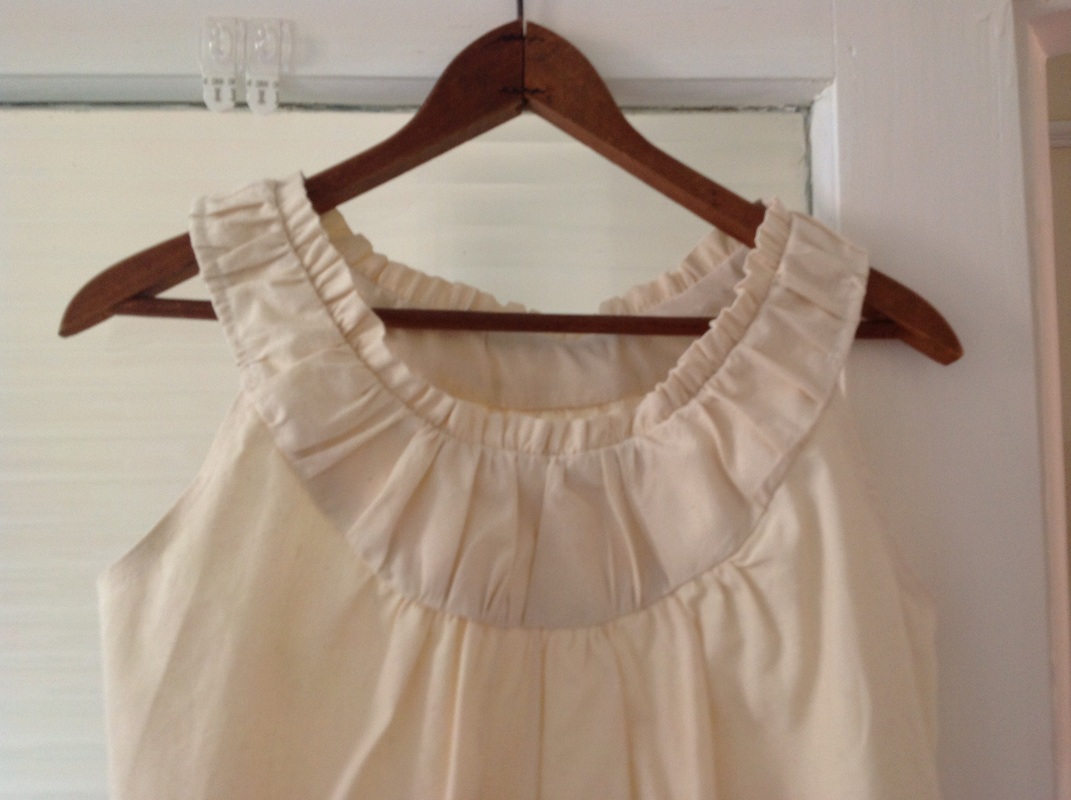
 Da da! It took quite some time to get my head around the instructions for attaching the yoke to the rest of the top (I did, in fact, come to the point when I was pretty confident that the pattern was incorrect). However, with a good night's sleep behind me and a fresh look, it finally made sense! This is such a different look from the other two tops in the pattern, but I think it's my favorite to date. I'm slowly becoming more and more confident with reading the patterns and making little adjustments (for example, slipping in the odd French seam) where I like. I'm running out of hangers for my craft room wardrobe!!
|


 RSS Feed